Planning a hiking trip involves careful consideration of numerous factors, from the terrain and weather conditions to the duration of your adventure and the food you intend to cook. One crucial aspect, often overlooked, is determining the amount of fuel you’ll need for your stove. Underestimating your gas requirements can lead to cold meals and a less enjoyable experience, while overpacking adds unnecessary weight to your pack. This guide will help you accurately estimate your gas needs for hiking, ensuring you have enough fuel to power your culinary adventures on the trail.
Factors Influencing Gas Consumption
Several factors contribute to the amount of gas you’ll consume while hiking. Understanding these factors is key to making an accurate estimation.
- Trip Length: The longer your trip, the more gas you’ll need. This seems obvious, but it’s the foundation of your calculation.
- Number of People: Cooking for multiple people requires more gas than cooking for one.
- Cooking Style: Elaborate meals with simmering and multiple courses will consume more gas than simple boil-and-eat meals.
- Altitude: Water boils at a lower temperature at higher altitudes, but it can still take longer to cook certain foods, potentially increasing gas consumption.
- Weather Conditions: Wind and cold temperatures can significantly increase gas consumption as more energy is needed to heat your pot.
- Stove Efficiency: Different stoves have different fuel efficiencies. Research your stove’s fuel consumption rate.
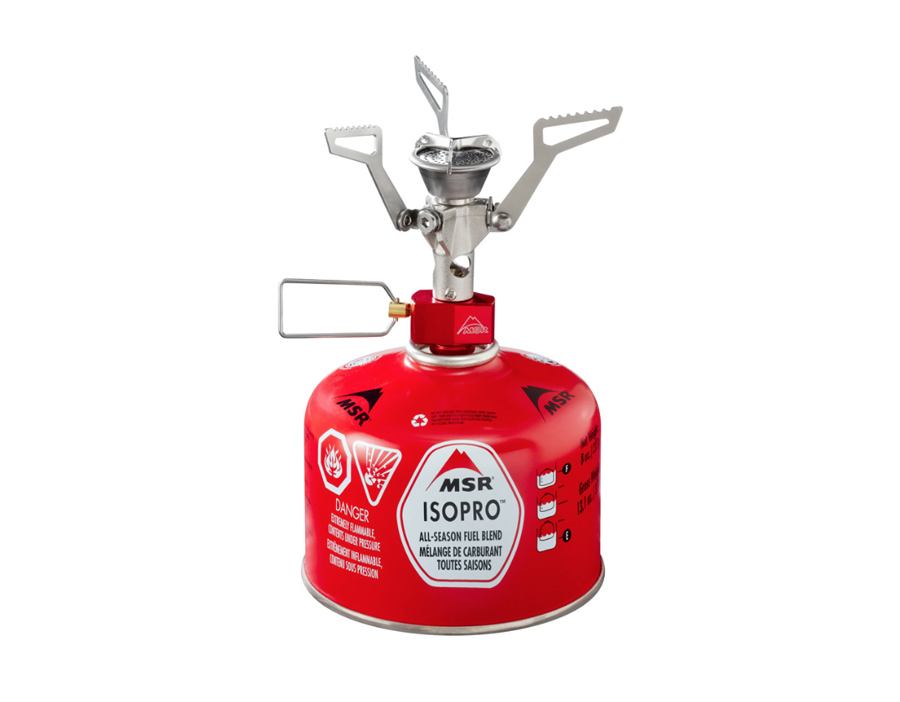
- Type of Fuel: Canister stoves and liquid fuel stoves have different burning characteristics.
Estimating Gas Consumption: A Step-by-Step Guide
Follow these steps to estimate your gas needs:
- Determine your cooking needs: How many meals per day? What types of meals will you be cooking? Will you be boiling water for drinks?
- Estimate boiling time: How long does it take to boil a liter of water with your stove under ideal conditions?
- Factor in environmental conditions: Add extra fuel to account for wind, cold, and altitude. A 25-50% increase is a good starting point.
- Calculate total boil time: Multiply the boiling time per liter by the number of liters you’ll need to boil per day, and then by the number of days of your trip.
- Convert boil time to fuel consumption: Check your stove’s specifications for fuel consumption rate (e.g., grams of fuel per minute of boiling). Multiply the total boil time by the fuel consumption rate.
- Add a buffer: It’s always better to have too much fuel than not enough. Add a 10-20% buffer to your final calculation.
Example Calculation
Let’s say you’re going on a 3-day trip, cooking two meals per day for one person. You need to boil 1 liter of water for each meal and another liter for hot drinks. Your stove boils 1 liter of water in 5 minutes and consumes 5 grams of fuel per minute of boiling. You anticipate windy conditions, so you’ll add a 25% buffer for that. You also want to add a 10% buffer for unexpected needs.
Here’s the calculation:
- Water needed per day: 2 meals * 1 liter/meal + 1 liter for drinks = 3 liters
- Total water needed: 3 liters/day * 3 days = 9 liters
- Total boil time: 9 liters * 5 minutes/liter = 45 minutes
- Fuel consumption: 45 minutes * 5 grams/minute = 225 grams
- Wind buffer: 225 grams * 0.25 = 56.25 grams
- Total fuel with wind buffer: 225 grams + 56.25 grams = 281.25 grams
- Additional buffer: 281.25 grams * 0.10 = 28.13 grams
- Total fuel needed: 281.25 grams + 28.13 grams = 309.38 grams
Therefore, you’d need approximately 310 grams of fuel for this trip.
Choosing the Right Fuel Canister
Fuel canisters typically come in different sizes (e.g., 100g, 230g, 450g). Based on your calculation, choose the appropriate canister size or combination of canisters to ensure you have enough fuel. It’s often better to bring a partially used canister and a new one than to rely on just one canister that might be close to empty.
Factoid: Fuel canisters are often a blend of propane and isobutane. Isobutane performs better in colder temperatures than propane.
Tips for Conserving Gas
Here are some tips to help you conserve gas while hiking:
- Use a windscreen: A windscreen can significantly reduce gas consumption, especially in windy conditions.
- Cook efficiently: Prepare meals that require minimal cooking time.
- Use a lid: Covering your pot while cooking helps retain heat and reduces boiling time.
- Melt snow efficiently: If melting snow for water, start with a small amount of water in the pot to help melt the snow more quickly.
- Insulate your pot: Use a pot cozy to keep your food warm after cooking, reducing the need to reheat it.
Liquid Fuel Stoves vs. Canister Stoves
While canister stoves are convenient, liquid fuel stoves can be more fuel-efficient, especially in cold weather. Liquid fuel stoves also allow you to refill your fuel bottle, reducing waste. Consider the pros and cons of each type of stove when planning your trip.
Factoid: Liquid fuel stoves can operate at lower temperatures than canister stoves, making them a popular choice for winter camping.
FAQ: Gas for Hiking How long does a fuel canister last?
The lifespan of a fuel canister depends on several factors, including the size of the canister, the type of stove, and the cooking conditions. A 230g canister might last for 3-5 days for one person cooking simple meals.
Can I bring fuel canisters on a plane?
No, fuel canisters are generally not allowed on airplanes due to safety regulations. You’ll need to purchase fuel at your destination.
What should I do with empty fuel canisters?
Empty fuel canisters should be disposed of properly. Some recycling centers accept them. You can also use a canister recycling tool to safely puncture and recycle them.
Is it safe to use a stove inside a tent?
Using a stove inside a tent is extremely dangerous due to the risk of carbon monoxide poisoning and fire. Always cook outdoors in a well-ventilated area.
How do I know if my fuel canister is empty?
You can often tell if a fuel canister is empty by shaking it. If it feels light and doesn’t slosh, it’s likely empty. However, it’s always best to have a backup canister.
What’s the best way to store fuel canisters?
Store fuel canisters in a cool, dry place away from direct sunlight and heat sources. Avoid storing them in your car on hot days.
Can I use different brands of fuel canisters with my stove?
Generally, yes, most standard threaded fuel canisters are compatible with most canister stoves. However, it’s always best to check the manufacturer’s recommendations to ensure compatibility.
Calculating the amount of gas you need for hiking requires careful consideration of several factors. By following the steps outlined in this guide and factoring in your specific needs and conditions, you can ensure you have enough fuel for your trip and avoid running out in the middle of the wilderness. Remember to always err on the side of caution and bring a little extra fuel just in case.
Happy hiking and safe cooking!
Troubleshooting Stove Issues on the Trail
Even with meticulous planning, stove issues can arise. Here’s how to troubleshoot common problems:
- Stove won’t light: Check the fuel level in the canister. Ensure the valve is open and the igniter is working. If using a match, shield it from the wind. Clean the burner head if necessary.
- Weak flame: This could indicate a low fuel level, a clogged fuel line, or cold temperatures affecting fuel vaporization. Try warming the canister (carefully!) or using a windscreen.
- Flare-ups: Flare-ups can be caused by overfilling a liquid fuel stove or by debris in the burner. Turn off the stove immediately and allow it to cool before inspecting and cleaning it.
- Stove is sputtering: This may indicate water in the fuel line or a loose connection. Check all connections and ensure the fuel is clean.
Preventative Maintenance for Your Stove
Regular maintenance can prevent many common stove issues. Before each trip, inspect your stove for damage, clean the burner head, and check the fuel lines for leaks. Carry a small repair kit with essential tools and spare parts.
Environmental Considerations
Responsible fuel usage is crucial for minimizing your impact on the environment. Pack out all empty fuel canisters and dispose of them properly. Avoid spilling fuel and never leave fuel canisters behind.
- Leave No Trace: Pack out everything you pack in, including empty fuel canisters.
- Proper Disposal: Recycle canisters whenever possible. Puncture and recycle them safely using a canister recycling tool.
- Minimize Fuel Waste: Use a windscreen and cook efficiently to conserve fuel.
Alternatives to Gas Stoves
While gas stoves are a popular choice for backpacking, there are alternatives to consider:
- Alcohol Stoves: Lightweight and simple, alcohol stoves burn denatured alcohol. They are generally less powerful than gas stoves but can be a good option for solo trips.
- Wood-Burning Stoves: These stoves use twigs and small branches as fuel. They can be a sustainable option, but they require more attention and may not be suitable in areas with fire restrictions.
- Solar Cookers: Solar cookers use sunlight to heat food. They are environmentally friendly but rely on sunny weather.
- No-Cook Meals: Consider packing no-cook meals to eliminate the need for a stove altogether. Options include wraps, sandwiches, salads, and dehydrated meals that can be rehydrated with cold water.
Choosing the Right Alternative
The best alternative to a gas stove depends on your specific needs and preferences. Consider the weight, ease of use, fuel availability, and environmental impact of each option before making a decision.
Factoid: Some hikers are experimenting with bio-fuel stoves that use renewable resources like wood pellets as fuel.
Advanced Techniques for Fuel Efficiency
For experienced backpackers, there are advanced techniques to maximize fuel efficiency:
- Cold Soaking: Cold soaking involves rehydrating dehydrated meals in cold water instead of boiling water; This eliminates the need for a stove altogether.
- Insulated Cooking: Use an insulated pot cozy to keep your food warm after cooking, reducing the need to reheat it.
- Optimizing Cookware: Use lightweight, efficient cookware designed for backpacking.
Final Thoughts
Calculating gas needs for hiking is an essential skill for any backpacker. By understanding the factors that influence fuel consumption, using efficient cooking techniques, and planning ahead, you can ensure you have enough fuel for your trip and minimize your impact on the environment. Whether you choose a gas stove, an alternative fuel source, or no-cook meals, remember to prioritize safety and responsible fuel usage.
