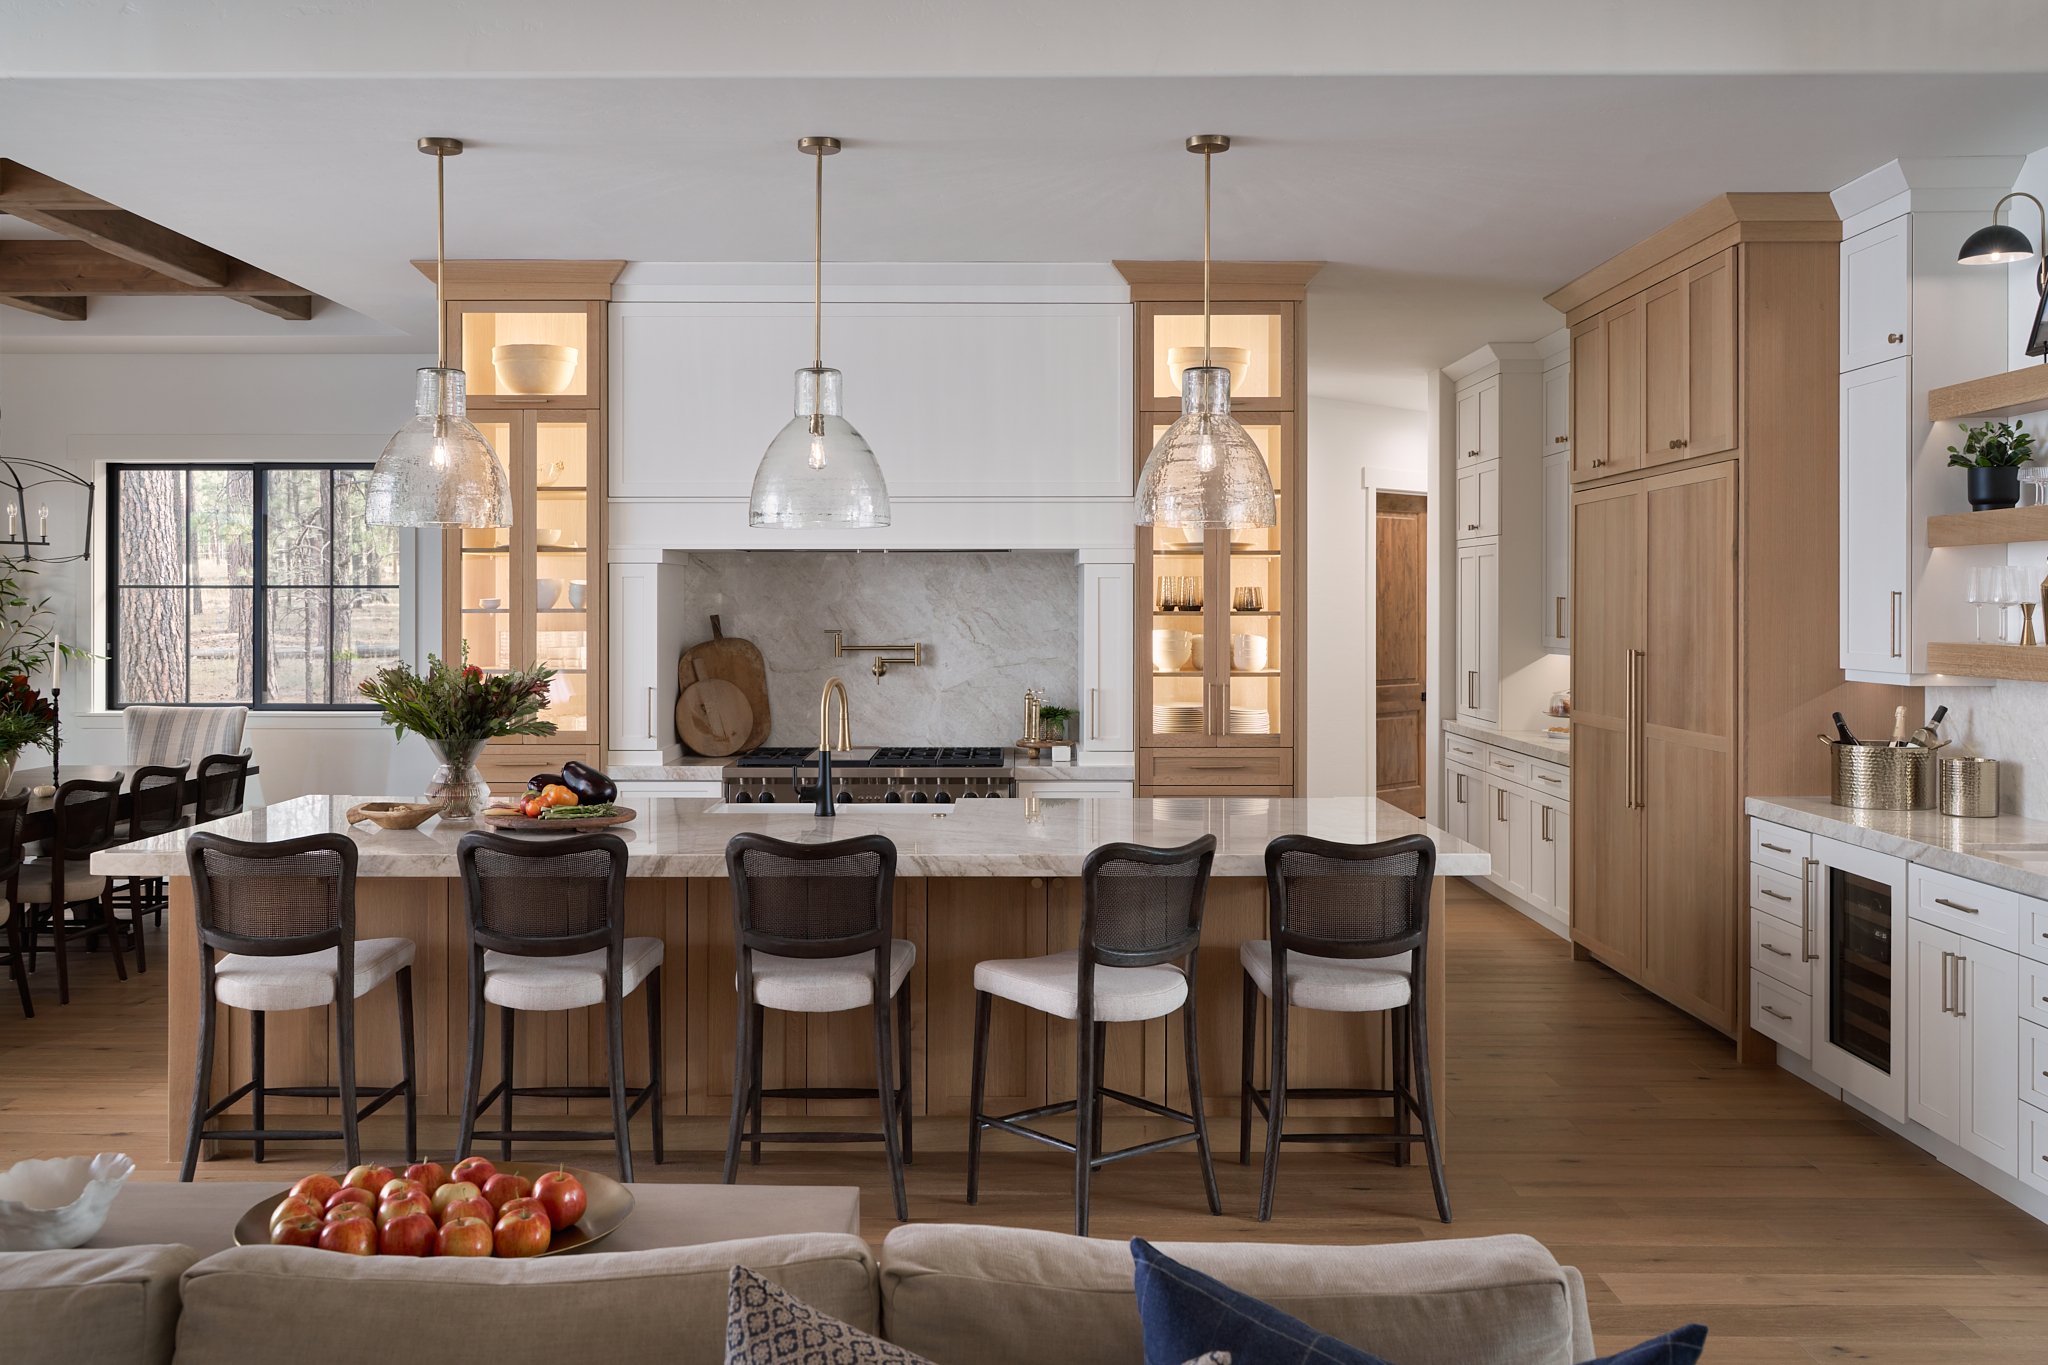
Creating realistic lighting in interior design renderings using Photoshop can seem daunting‚ but with the right techniques and a creative mindset‚ you can achieve stunning results. Forget the cookie-cutter tutorials; we’re diving into a method that emphasizes artistic interpretation and personalized flair. This approach focuses on understanding light behavior and translating that understanding into visually compelling imagery using Photoshop’s powerful tools. Mastering how to render lighting interior design photoshop opens up a world of possibilities for showcasing your design concepts with unparalleled realism and impact. This guide will walk you through a unique workflow‚ emphasizing artistic control and intuitive adjustments.
Understanding Light and Shadow
Before even opening Photoshop‚ it’s crucial to grasp the fundamentals of light and shadow. Consider these aspects:
- Light Source: Where is the light coming from? Is it direct sunlight‚ artificial lighting‚ or a combination?
- Intensity: How bright is the light? This affects the strength of shadows.
- Color Temperature: Is the light warm (yellowish) or cool (bluish)?
- Reflection and Diffusion: How does light bounce off different surfaces? Matte surfaces diffuse light‚ while glossy surfaces reflect it more directly.
Pre-Photoshop Preparation
Start with a clean‚ well-rendered base image of your interior design. This could be a 3D rendering from software like SketchUp‚ 3ds Max‚ or Revit. Ensure the base rendering has accurate geometry and basic material assignments. Think of this as your canvas – the better the foundation‚ the more convincing your lighting will be.
Photoshop Workflow: The Artistic Approach
This method focuses on building up the lighting effects layer by layer‚ using a combination of blending modes‚ adjustment layers‚ and manual painting.
- Global Ambient Light: Create a new layer and fill it with a neutral color (e.g.‚ a light gray). Set the blending mode to “Soft Light” or “Overlay” and adjust the opacity to subtly brighten the entire scene.
- Direct Light: Create a new layer for each light source. Use the Brush tool with a soft edge and a color corresponding to the light source’s color temperature. Paint in the areas directly illuminated by the light. Experiment with blending modes like “Linear Dodge (Add)” or “Screen” for a brighter effect.
- Shadows: Create a new layer for shadows. Use a dark color (e.g.‚ a dark gray or brown) and paint in the areas that would be in shadow‚ considering the light source’s position. Set the blending mode to “Multiply” and adjust the opacity. Pay attention to the sharpness of the shadows – direct sunlight creates sharper shadows‚ while diffused light creates softer shadows.
- Reflections and Highlights: Create new layers for reflections and highlights. Use the Brush tool with a small‚ hard edge to paint in specular highlights on glossy surfaces. For reflections‚ consider the environment and paint in subtle reflections of objects and colors.
- Adjustment Layers: Use adjustment layers like Curves‚ Levels‚ and Color Balance to fine-tune the overall lighting and color. These layers allow you to make non-destructive adjustments that affect all layers below them.
Remember to work non-destructively by using layers and masks. This allows you to easily adjust the lighting effects without permanently altering the original image. Experiment with different blending modes and opacities to achieve the desired look. Don’t be afraid to deviate from the “rules” and create your own unique style.
Advanced Techniques
Once you’re comfortable with the basic workflow‚ you can explore more advanced techniques:
- Light Gels: Simulate the effect of colored light gels by using a Color Balance adjustment layer and targeting specific tonal ranges.
- Volumetric Lighting: Create the illusion of light rays passing through the air by using the Brush tool with a very soft edge and a low opacity.
- Atmospheric Perspective: Add a subtle haze or fog to the scene to create a sense of depth.
The key is to practice and experiment. The more you work with light and shadow in Photoshop‚ the better you’ll become at creating realistic and visually appealing interior design renderings.
FAQ: Rendering Lighting in Interior Design Photoshop
- What is the best blending mode for shadows?
- Multiply is generally the best blending mode for shadows‚ as it darkens the underlying layers.
- How do I create realistic highlights?
- Use a small‚ hard-edged brush and paint in specular highlights on glossy surfaces. Consider the angle of the light source and the surface’s curvature.
- What is the best way to add ambient light?
- Create a new layer‚ fill it with a neutral color‚ and set the blending mode to Soft Light or Overlay. Adjust the opacity to control the intensity of the ambient light.
- How can I make my lighting look more natural?
- Pay attention to the color temperature of the light sources and the way light interacts with different surfaces. Use subtle variations in color and intensity to create a more realistic effect.
Ultimately‚ mastering how to render lighting interior design photoshop is an iterative process. Embrace experimentation‚ learn from your mistakes‚ and develop your own unique style. With dedication and practice‚ you’ll be able to create stunning interior design renderings that showcase your vision with unparalleled realism and artistry.

